If you’ve read this column for any length of time, you’ll know that I have a soft spot for baked goods. There’s just something about the combination of sugar, flour and butter that makes my eyes roll back into my head, my limbs go limp and my tongue hang out the side of my mouth. Yikes, now there’s visual.
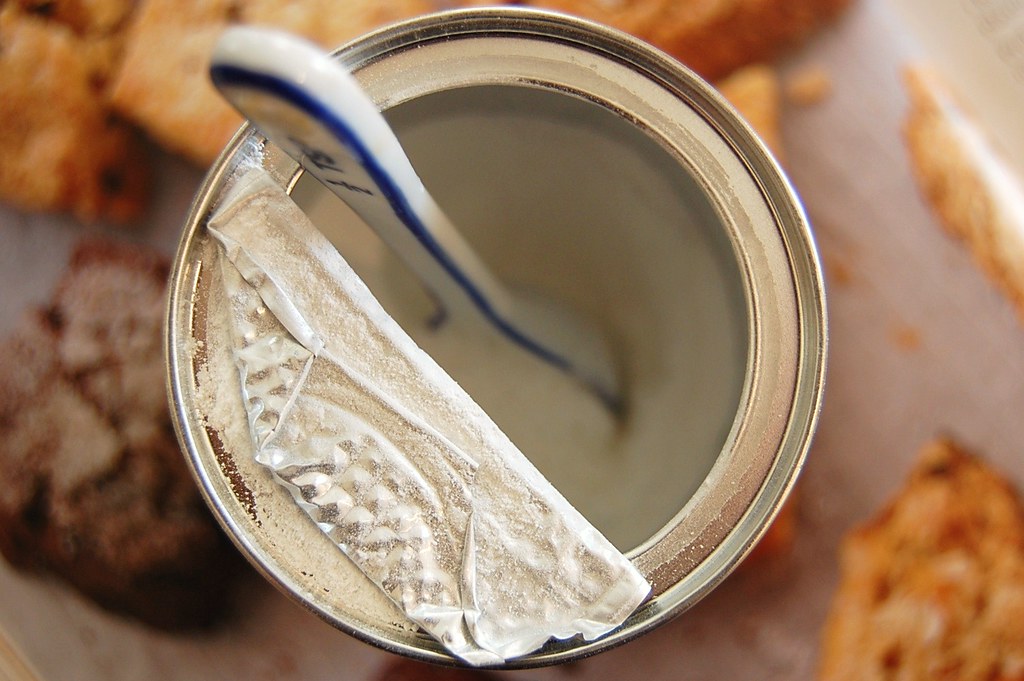
Baking Powder
Back in the day (i.e., when I was younger, less jaded, way too overzealous and a bit naïve), I had a short-lived baking business which I ran out of my kitchen called Darling Desserts. Darling Desserts was a darling little idea that could have really taken off had I had the time, the business savvy and the dump truck full of money to throw the idea into high gear. As it was, I was baking muffins, cookies and cakes in my kitchen until all hours of the night and delivering them at the @$$crack of dawn before being at my office job by 8:30. I offered a wonderful, hand-crafted product at a fair price, and free delivery to anywhere within a 10-mile radius.
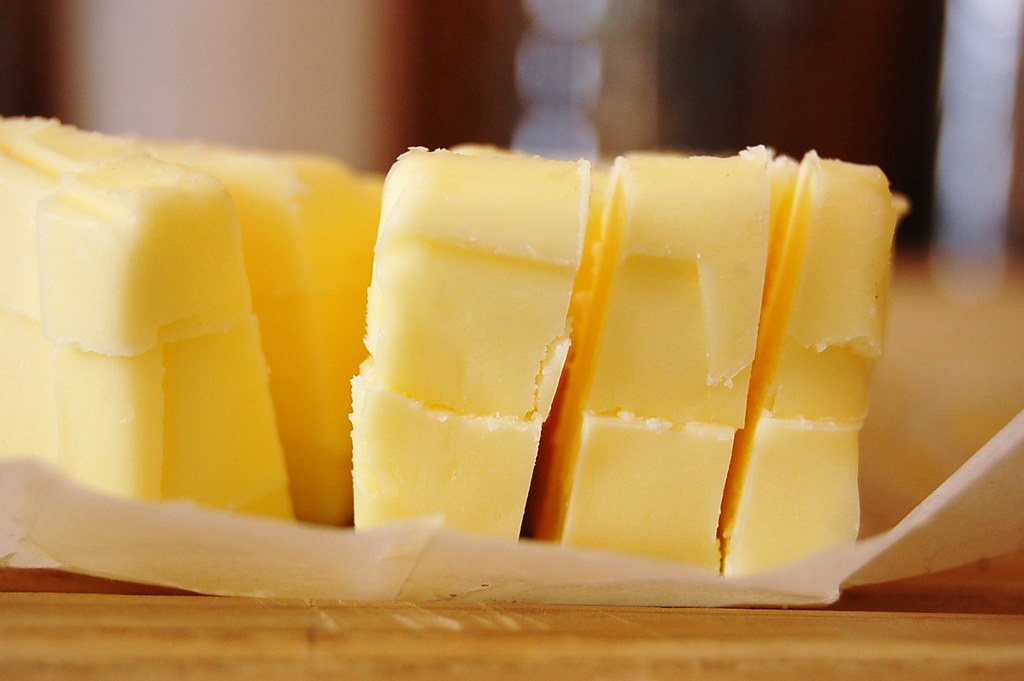
Lotsa Butter
Eventually, my eager-to-please business strategy got the best of me, and I became a burned out baker who was driving to Springdale at 7:30 a.m. to deliver boxes of cookies that netted me exactly $2.14. I was getting in over my head, and I was beginning to burn out and flail about. This, combined with the fact that I’d just received a promotion at the office that gave me a bazillion new things to learn and a frightening amount of responsibility, led me to put Darling Desserts aside and concentrate on my real passion money-maker, my office job. Insert the collective, defeated sigh here.
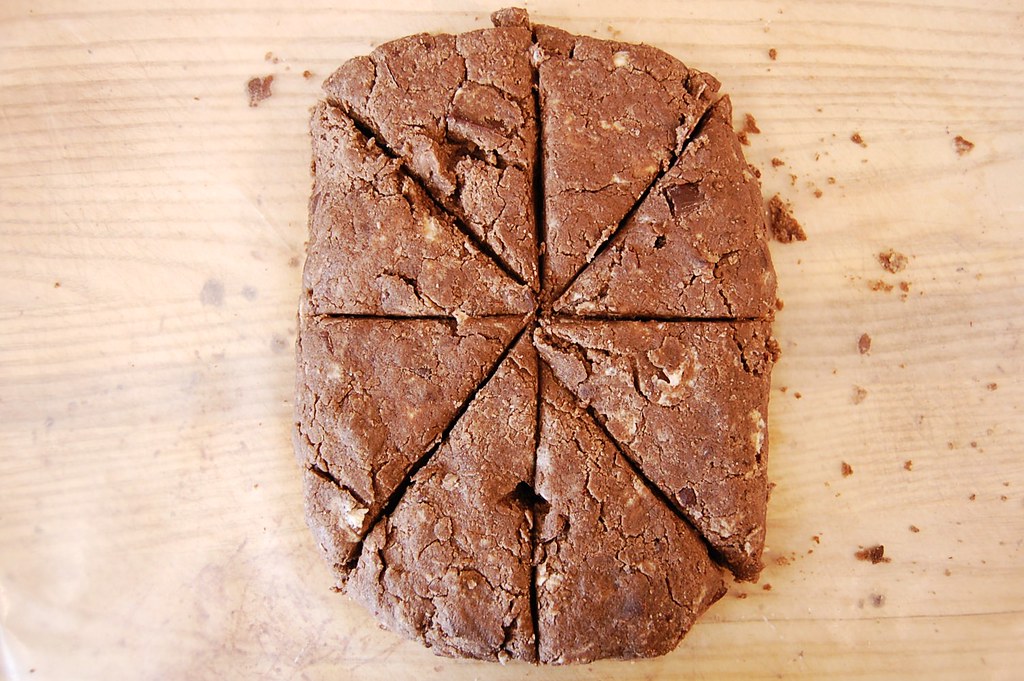
Cutting the Scones
Regardless of Darling Desserts’ demise, my passion for baking is still as strong as ever. You know when you find that couple of hours over the weekend when you really don’t have much to do? You probably think to yourself, “I want to read a book”, or “I think I’ll take a nap”, or “I really need to paint my Drow Cleric of Lolth miniature a new shade of purple” – well, I think to myself, “I want to bake something”.
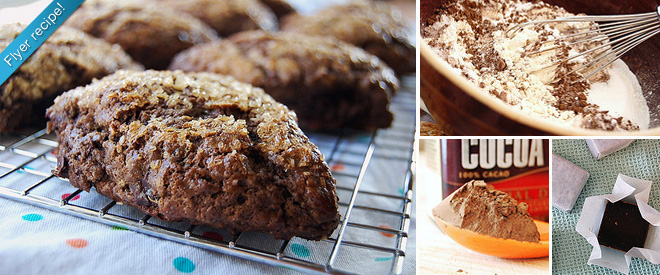
I found myself with such a block of time last weekend, and I jumped at the occasion to make something crumbly, decadent and sweet-tooth-satisfying. I was flipping through my cookbooks for some inspiration; Nigella just wasn’t doing it for me (sorry, Lady Lawson) and Pierre Herme was going to take up entirely too much of my time (still love you, Pierre). Good ol’ Martha Stewart was speaking my language, though; her Baking Handbook gave me all sorts of ideas for sweet treats Hubs and I could share. I decided on Martha’s chocolate scones, which she warns “are so rich and dense, you may prefer to eat them as an afternoon snack rather than for breakfast.” Umm, Martha? How about both?
Tossing in the Chocolate
According to my 20-second Wikipedia search, scones have origins in the highlands of Scotland. With a consistency a lot like a biscuit, scones can be sweet or savory and run the gamut when it comes to flavors. Because of my serious case of Sweettoothitis, I chose the chocolate variety, of course.
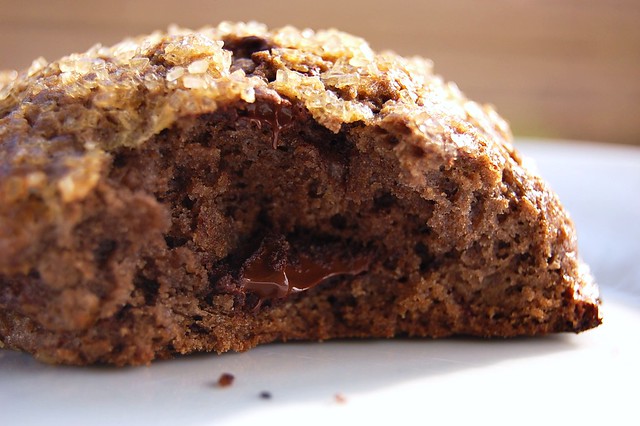
Scones contain many of the same ingredients as any quick bread dough (think banana bread or pumpkin bread), but are noticeably drier in their raw form, and need a little helping hand to combine. But fret not: the large chunks of butter within the dough create steam as the dough bakes, turning the dough into a fluffy, crumbly and oh-so-buttery treat. The chunks of chocolate only add to the goodness, and the turbinado sugar offers a satisfying, sweet crunch. As I always say, change these scones up to suit your taste buds: add in nuts, dried fruit or other mix-ins to make them your own creation – your own scones! They are truly wonderful as a mid-afternoon snack or a decadent breakfast. And one last thing: Martha says they’re best eaten the day they’re made; but if you eat eight scones in one day, I think we may have to call Intervention to schedule a show for next season. Just sayin’. Enjoy!

Flyer Foodie on Facebook
Like what you just read? Then join me on Facebook for daily foodie inspiration and to share your meals and ideas with others! You can find me at facebook.com/flyerfoodie
Chocolate Scones
(adapted from Martha’s Baking Handbook)
2 1/4 c. flour, plus more for dusting
3 Tbs. cocoa powder
1/2 c. plus 2 Tbs. sugar
1 1/2 tsp. baking powder
1/2 tsp. baking soda
1/4 tsp. salt
1 1/4 sticks cold butter, cut into small pieces
5 oz. semisweet chocolate, chopped into 1/2″ pieces
1 large egg, plus 1 large egg yolk
3/4 c. plus 2 Tbs. heavy cream
Turbinado sugar for sprinkling (optional)

Egg Wash
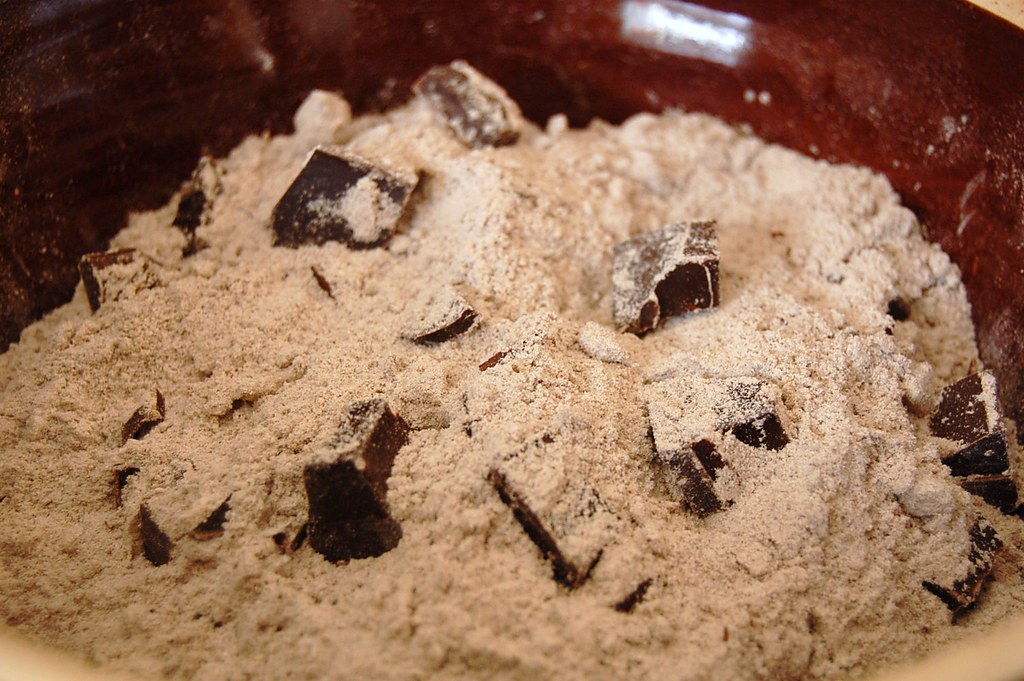
Line a baking sheet with parchment paper and set aside. In a large bowl, whisk together the flour, cocoa, granulated sugar, baking soda and salt. Using a pastry cutter, cut in the butter until the mixture resembles coarse crumbs with a few larger clumps remaining. Fold in the chocolate.
Whisk together the whole egg and the 3/4 cup plus 1 tablespoon of the cream. Add the egg mixture to the flour mixture. Using a rubber spatula, fold in, working from all directions and incorporating the crumbs from the bottom of the bowl. Don’t worry, this will look dry. Fold until the dough just starts to come together.

Into the Oven
Turn the dough out onto a lightly floured surface and gently pat together, working into a rectangle about an inch thick all around. Using a sharp knife or a pizza cutter, cut the rectangle into squares or triangles. Place the cut dough about 2 inches apart on the prepared baking sheet. Cover with plastic wrap and freeze for at least an hour and a half.
Preheat the oven to 375°. In a small bowl, lightly beat the egg yolk with the remaining tablespoon of heavy cream. Brush the mixture over the tops of the scones and sprinkle them with the turbinado sugar, if using. Bake, rotating the sheet halfway through, until a cake tester comes out clean, about 25-30 minutes. Transfer to a wire rack to cool.
* If the above slideshow doesn’t load, you can view all the photos from this recipe on Flickr.

Laura Hobbs
Laura is a regular contributor for the Fayetteville Flyer. She was born and raised in Fayetteville. She is a self-proclaimed foodie and avid cook. For more of Laura’s contributions, see her Flyer Foodie author page. For more cooking, recipes, and other food-related inspiration, visit Flyer Foodie on Facebook.