I have made some really, REALLY bad cookies in my days. For reasons unknown, I can’t quite seem to master the crunchy-outside-chewy-inside concept, and often achieve something more along the lines of a what-the-heck-is-THAT-supposed-to-be result. They’ve been chalky, they’ve been cakey, they’ve been discolored – and as I’ve told you before, they’ve even been referred to as “turd piles”. Sigh. I can’t win!
A few weeks ago, however, during a break from gardening, I was rummaging through my old recipe folder. This bulging, torn and tattered thing contains recipes that span the past decade, from when I was a wee (naïve, unsophisticated, eager-to-please) wifey – to recipes that I just printed off last week. The recipes span the spectrum of difficulty and style (aww, I actually needed a recipe for “fresh tomato salsa”? How cute!), and are divided into the “savory side” and the “sweet side”.
Shockingly enough, my Rhode Island-sized sweet tooth was craving something from the sweet side. I wanted something relatively quick, uncomplicated and handheld, and I didn’t want to have to go to the store to buy any additional ingredients. I came across a recipe I’d originally printed off in 2002 for Christmas goodie boxes, which sparked my interest. Granted, they were cookies: coconut macadamia nut cookies, to be exact. But I wasn’t going to let that deter me – I was going to make some normal looking, normal tasting – heck, even good – cookies if it killed me, goshdarnit!
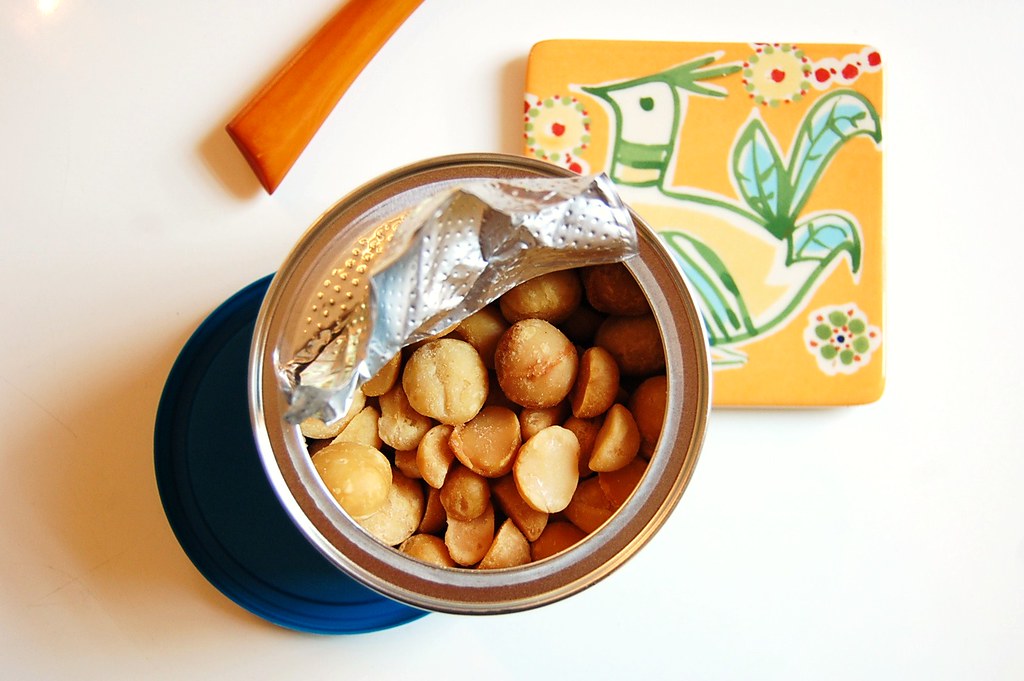
Toasted Macadamias
Per usual, I tweaked the original recipe to suit my tastes a little better. The original called for golden raisins; I added chopped dried apricots instead, but you can use whatever dried fruit you like best. Think dried cherries, dried cranberries, even dried pineapple! The original also called for less coconut, but I increased the amount by a few tablespoons to add more body and texture to the cookies. I also found the original mixture of butter, water and honey was not enough to get the cookie dough properly moistened, so I increased the amount of water, as well. Bold and brave modifications coming from a cookie rookie, I know!
A quick mix in my standing mixer, a brief roll with my hands, and these little guys were ready to go into the oven. I watched through the oven’s glass with trepidation as they baked. “Oh, lordy”, I thought to myself, “they’re not flattening out. They’re going to be like balls of clay. Not even Hubby will eat these. This is yet another cookie disaster. Failure strikes again – OH, THE HUMANITY!” Au contraire. Toward the end of their 20 minutes in the oven, they sank to a beautiful, perfectly round, perfectly normal cookie shape. Had I succeeded? Had I truly made a common-looking cookie?
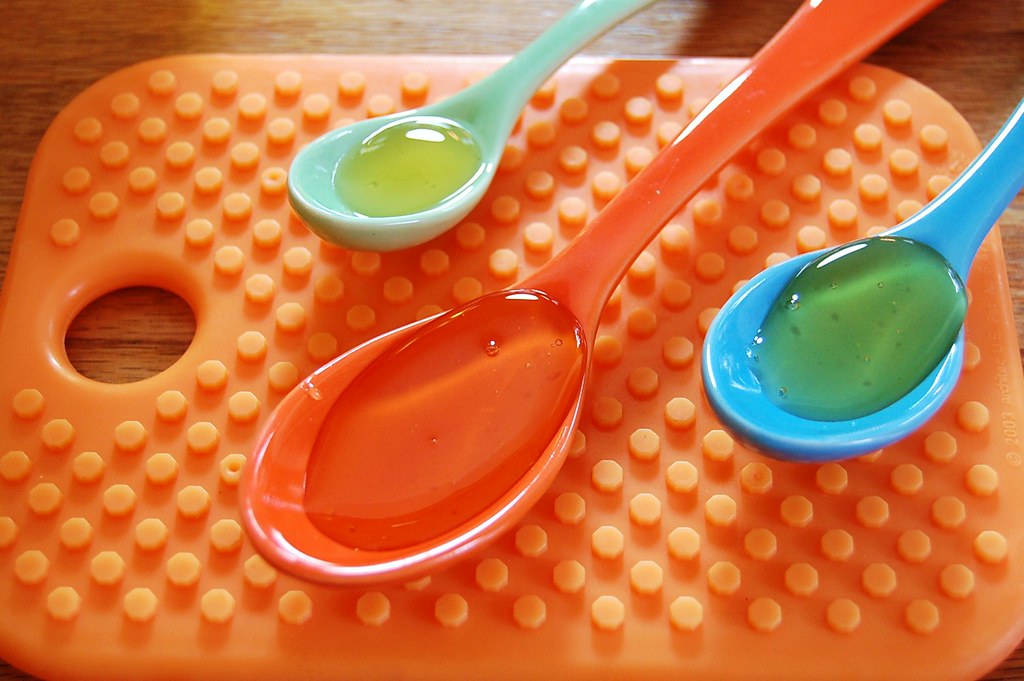
Honey, Honey
They looked normal… They smelled pretty good… They didn’t look like a sixth grade science project gone wrong… And in one bite, all my worries were gone. These little cookies were crispy on the outside and chewy on the inside. The buttery crunch of the macadamia nuts was still a little warm, the coconut’s texture added some welcome body, and the sweet chewiness of the apricots conned me into thinking I was eating something healthy. Success!
As I always say, feel free to play with the ingredients. Use pecans instead of macadamias, use whichever dried fruit you like best – turn these cookies into your own cookie masterpiece! And then be sure not to share them with anyone. You won’t want to, anyway. Enjoy!
Like what you see here? Then join me on Facebook for the latest updates, food inspiration, and see what other people are cookin’ in their kitchens. Come on, it’s fun!
Coconut & Macadamia Cookies

1 c. flour
1 c. oats
1 c. brown sugar, packed
1/3 c. dried fruit
1/3 c. sweetened coconut
1/3 c. macadamia nuts, coarsely chopped
1/2 tsp. baking soda
1/4 c. butter, melted
4 Tbs. water
2 Tbs. honey
Preheat the oven to 325°.
Combine dry ingredients (flour through baking soda) together in a large bowl. Combine melted butter, water and honey in a small mixing bowl, whisking thoroughly to combine. Add the butter mixture to the dry ingredients, stirring until well blended. Form 2 tablespoon balls and place 2 inches apart on a greased baking sheet, or a parchment-lined baking sheet. Bake for 20 minutes or until almost set. Cool for 5 minutes on the pan, then transfer to a wire rack to cool completely.
* If the above slide show doesn’t load, please visit the entire photo set on Flickr.
Laura Hobbs is a regular contributor for the Fayetteville Flyer. She was born and raised in Fayetteville. She is a self-proclaimed foodie and avid cook. For more of Laura’s contributions, see her author page or visit Flyer Foodie on Facebook.